How to Repurpose Instagram Reels into Blog Posts Using Transcripts
Complete step-by-step workflow for turning Instagram Reels into SEO-optimized blog posts using a free transcript generator. Includes keyword strategy and content expansion tips.
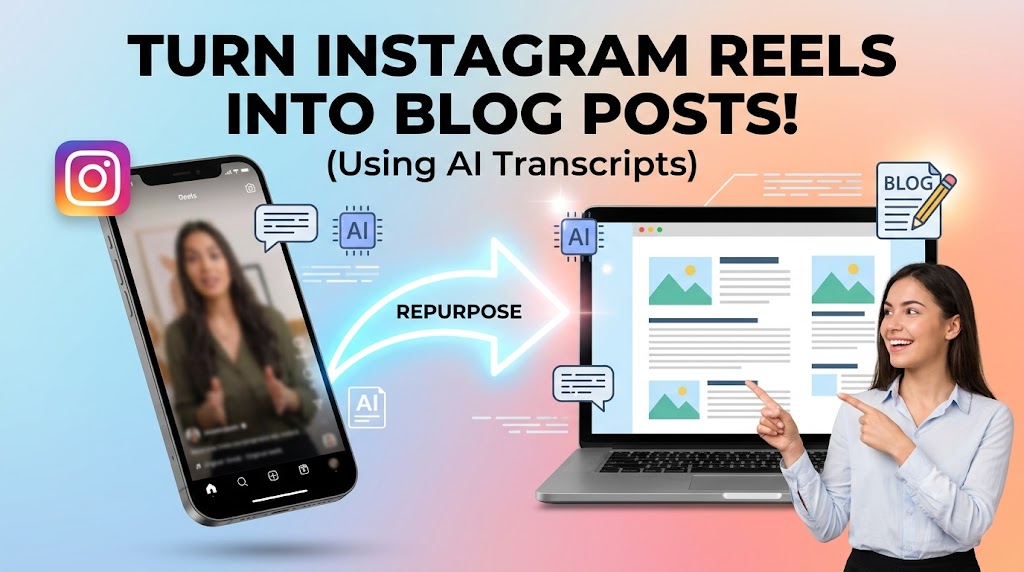
Why Repurposing Reels into Blog Posts Makes Sense
Instagram Reels have a shelf life of 48-72 hours in most cases. After that, the algorithm moves on and your content effectively disappears. A blog post built from that same Reel can rank on Google and drive organic traffic for years. The content you created once keeps working for you indefinitely.
There is also an audience overlap consideration. Your Instagram followers and your blog readers are often different people at different stages. The Reel reaches people who are already following you. The blog post reaches people searching Google who have never heard of you. Repurposing serves both audiences from the same piece of original content.
The bottleneck has always been the transcription step. With a free tool that converts a Reel to text in 30 seconds, that bottleneck is eliminated.
📝 Reel to blog post workflow:
- Transcribe the Reel at facebooktotranscript.com/instagram-transcript (30 seconds)
- Choose a target keyword for the blog post (5 minutes)
- Structure the transcript into H2 sections (5 minutes)
- Expand each section with context and examples (15 minutes)
- Write intro, conclusion, and meta description (5 minutes)
- Publish and link back to the original Reel
Total time: 30-40 minutes from Reel to published article.
Step 1 - Transcribe the Reel
Copy the Reel URL from Instagram (tap ··· → Copy Link). Go to facebooktotranscript.com/instagram-transcript. Paste the URL, select the language spoken in the Reel, and click Get Transcript. Download the result as a TXT file.
This TXT file is the foundation of your blog post. If the Reel is your own content, use the transcript freely. If it is a Reel you want to reference from another creator, use it as research material - paraphrase and attribute, do not copy verbatim.
Step 2 - Choose Your Target Keyword
Read through the transcript. Ask: what is the primary question this Reel answers? What problem does it solve? Write that question in plain language.
Now search that question in Google. Look at the "People Also Ask" section and the autocomplete suggestions. Find the most natural phrasing with a realistic amount of search volume. That is your target keyword and your article title.
For example, a Reel about Instagram growth tips becomes an article titled "How to Grow on Instagram Organically in 2026 (7 Proven Tips)" targeting the keyword "how to grow on Instagram organically."
Step 3 - Structure the Transcript into Sections
Open the TXT transcript in your blog editor or a text document. Read through it and identify the main points - these become your H2 headings.
A typical 60-second Reel has 3-5 main points or steps. Each becomes one H2 section in the blog post. A 3-minute Reel might have 5-8 points. Map each spoken point to a heading and group the relevant transcript sentences under each heading.
At this stage, your document looks like: Title → Intro (placeholder) → H2: Point 1 (transcript sentences) → H2: Point 2 (transcript sentences) → etc.
Step 4 - Expand Each Section
This is the most important step. Spoken language is compressed for video. Each point that took 10 seconds in a Reel can expand to 150-300 words in an article. For each H2 section, add:
- Why it matters: 1-2 sentences explaining why this point is important
- How to do it: Specific, actionable instruction
- Example: A concrete example or use case
- Common mistake: What people usually get wrong about this
After expanding all sections, a 60-second Reel (5 points × 200 words each) gives you a 1,000-word article body. Add an introduction and conclusion and you have a complete 1,200-1,400 word post.
Step 5 - Write the Introduction and Conclusion
Write a fresh introduction (not from the transcript). The introduction should: hook the reader with a problem or intriguing statement, explain who this article is for, and preview what they will learn. Do not use the exact same hook as the Reel - the article intro should read like written content, not a script.
The conclusion summarizes the key points and includes a call to action. For Instagram creators, the CTA might be: follow you on Instagram, watch the original Reel, try the transcript tool, or read a related article.
Step 6 - SEO Optimization
With the content drafted, apply these essential SEO elements:
- Title (H1): Include your target keyword. Keep it under 60 characters.
- Meta description: 150-160 characters. Include keyword and value proposition.
- URL slug: Keyword-based, hyphenated. E.g., /blog/how-to-grow-on-instagram-organically
- Keyword in first paragraph: Use the keyword naturally in the opening.
- Internal links: Link to 2-3 other relevant articles on your site.
- Alt text on images: Descriptive alt text for any screenshots or images.
Step 7 - Embed the Original Reel and Publish
Add the Instagram Reel embed to your blog post. On the Reel, tap ··· → Embed. Copy the embed code and paste it into your article, ideally near the top so readers can choose to watch or read. This increases dwell time (visitors spend longer on the page) which is a positive ranking signal.
Also add a "Share on Instagram" link or button so readers can easily visit and follow your Instagram profile from the blog post.
Frequently Asked Questions
Can a 60-second Reel really become a full blog post?
Yes. A 60-second Reel contains 120-180 words of spoken content. With an introduction, expanded body sections, and conclusion, this becomes a 600-900 word article. For competitive keywords, expand further by adding examples, data, and context to reach 1,200+ words.
Will Google penalize me for using Reel transcript content in a blog post?
No, if the transcript is your own content from your own Reel. Google penalizes duplicate content (copying text from other websites), not repurposing your own spoken content into written form. The key is to expand, restructure, and add value rather than publishing a raw transcript verbatim.
What is the best keyword strategy for Reel-to-blog repurposing?
Identify the main question your Reel answers. Use Google's autocomplete, "People Also Ask," or a keyword tool to find the most-searched phrasing for that question. Make that phrase your article title and primary keyword. Your Reel already proved the topic resonates - SEO optimization makes it discoverable.
How long should a blog post from a Reel be?
Minimum 600-800 words for general topics. 1,200-2,000 words for competitive keywords. Check what the top-ranking articles look like for your target keyword - match or exceed their depth. Short Reels need more expansion; long Reels need less.
Should I embed the original Reel in the blog post?
Yes. Embed the original Instagram Reel in the article using Instagram's embed code (Share → Embed). This keeps readers on the page longer, lets them choose video or text format, and creates a content page that serves both visual and textual learners.
Can I repurpose other creators' Reels into blog posts?
You should not repurpose other creators' content as your own without permission. However, you can reference and quote from public Reels with proper attribution, use transcripts of others' content for research and inspiration, and create your own original written take on the same topics they cover.
Ready to Convert Your Facebook Videos to Text?
Use our free AI-powered tool to transcribe any Facebook video in seconds.
Try the Free Transcription Tool